Viewing and contacting applicants
So far, our application is great at displaying a list of applicants, but we cannot do anything useful with individual applicants.
In this chapter, we will build two key features of any applicant tracking system, making our application much more interesting and useful in the process.
First, we will build an applicant show page where we can review the applicant information in detail, including their resume. We can’t know who we want to interview if we can’t see their resume!
After the show page is built, we will add the ability to send emails to applicants and receive replies to those emails using ActionMailbox.
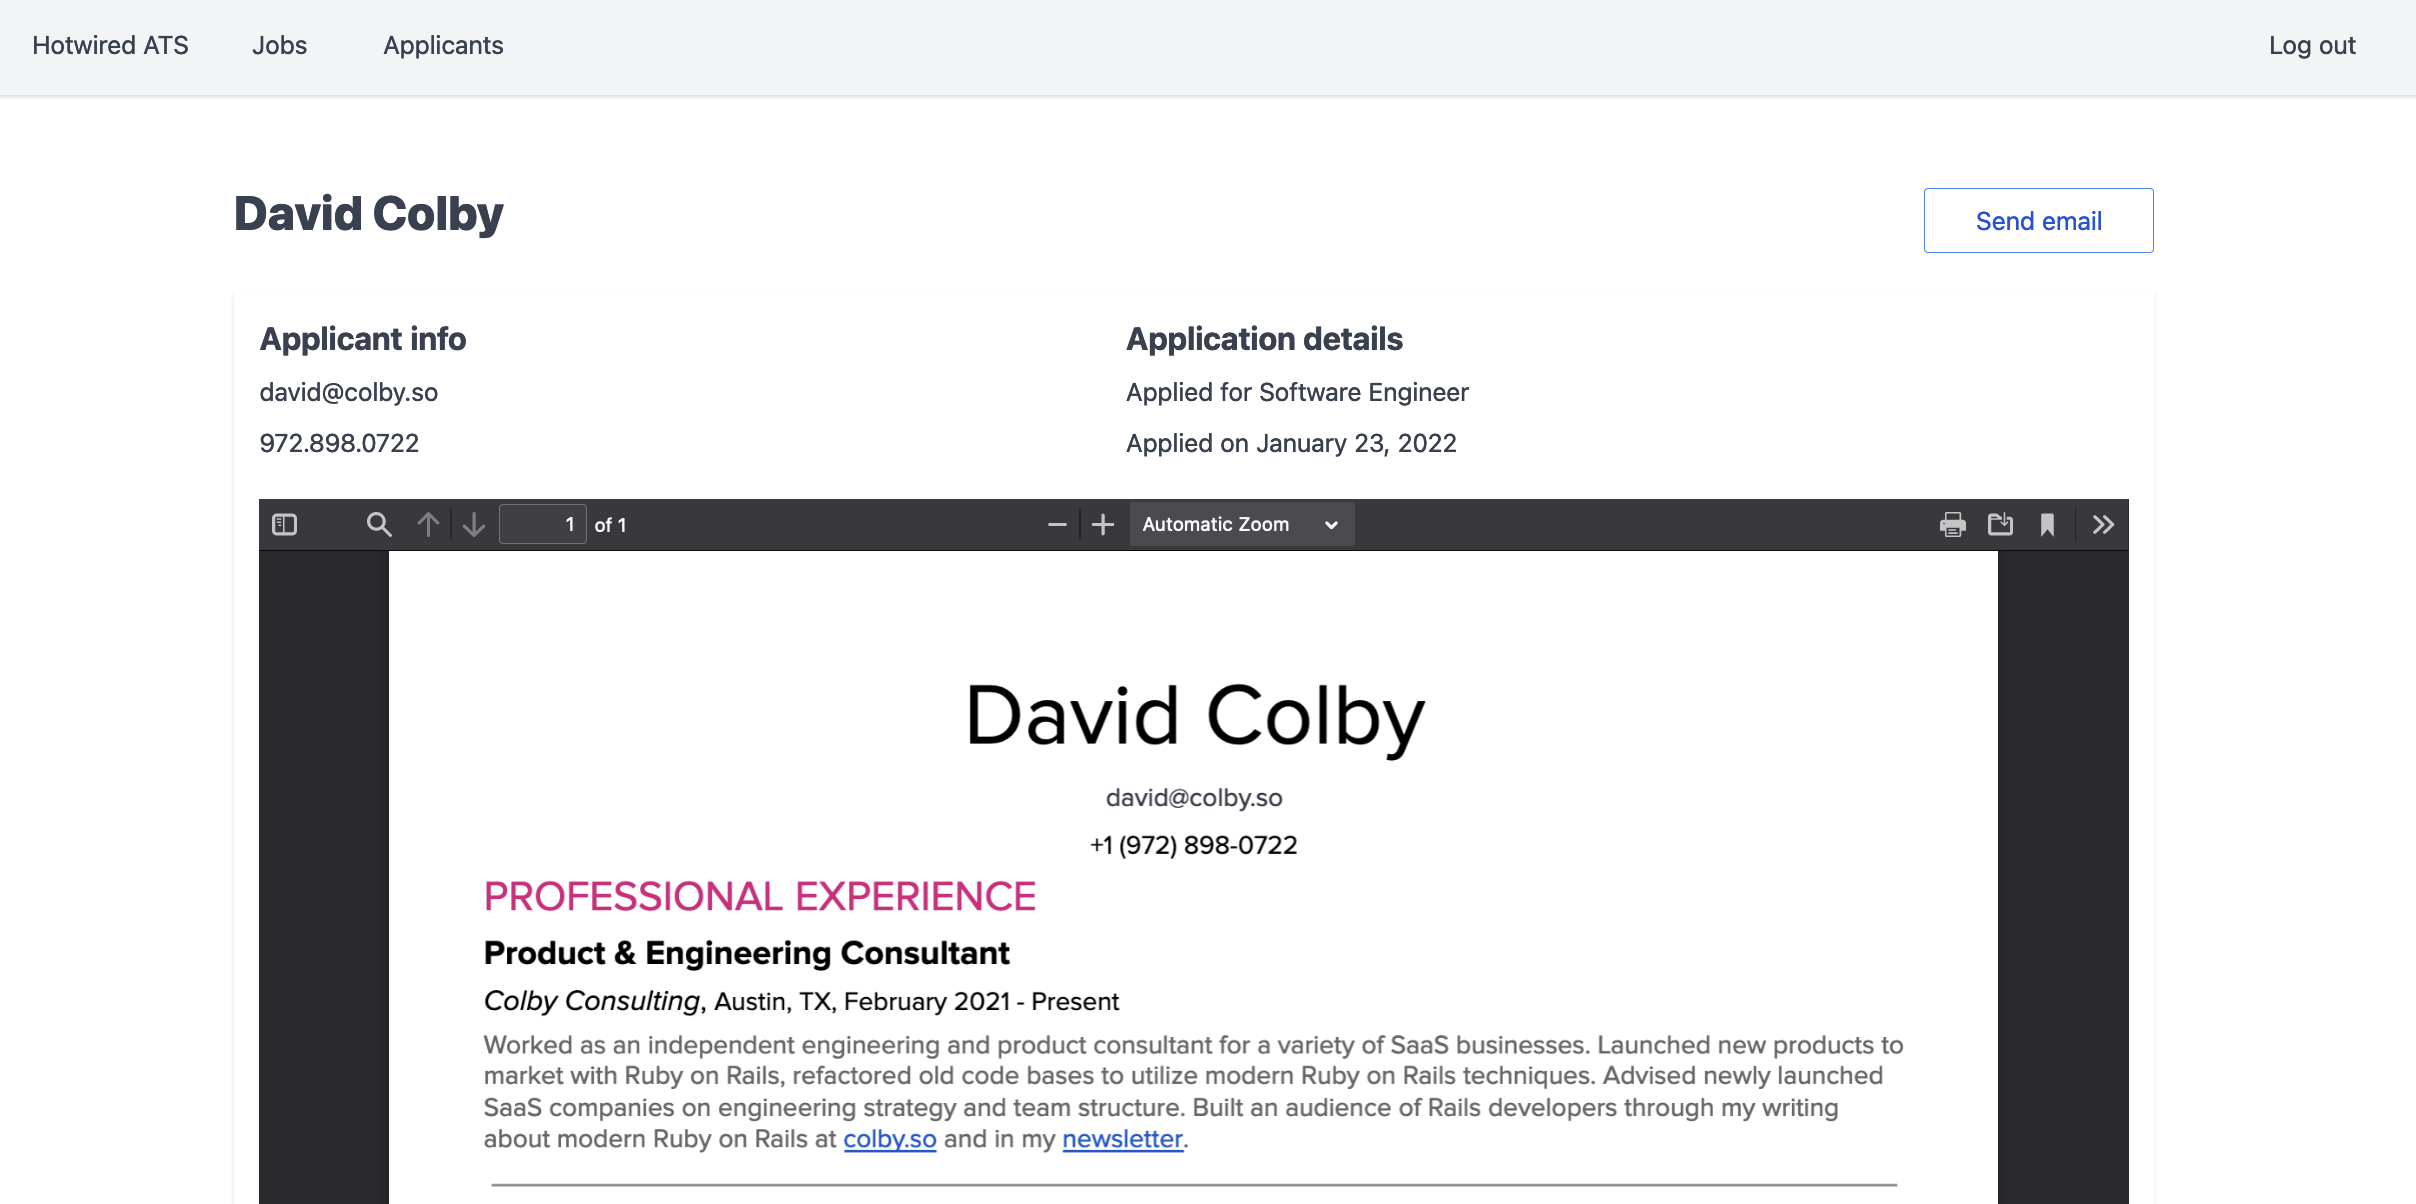
When we are finished, the applicant show page will look like this:
Building the applicant show page
In the last chapter, you may have noticed a bug on the applicants page. After we wrapped the applicant list in a Turbo Frame, clicking on links to view applicants stopped working as expected. When you click on an applicant’s name, the list of applicants disappears and the page is broken. If you check the console in your browser you will see an error message like this:
What is going on here? By default, all navigation within a Turbo Frame is scoped within that frame. When a user clicks on a link that is inside of a Turbo Frame, Turbo expects the server to send back a response that includes a <turbo-frame> element with an id that matches the frame that originated the request.
Currently, the show action does not send back a matching Turbo Frame. This causes Turbo to throw an error and empty out the contents of the applicants turbo frame in the DOM. Not ideal.
How do we fix it? The data-turbo-frame attribute that we used in the last chapter will help here too. Instead of telling Turbo to target a specific frame, we can use this attribute to navigate from within a frame into a full page turn.
To do this, update the link to the applicant show page in the applicant card partial:
turbo_frame: "top" is the key, causing clicks on this link to break out of the frame and navigate the entire page. Refresh the page, click on an applicant’s name, and see that the browser navigates to the applicant show page for that applicant.
Now that we can visit the applicant show page again, let's update it to make it more interesting to look at. Update app/views/applicants/show.html.erb like this:
Nothing too exciting on the show page yet. We have placeholders for content we will add later, and opening the “Send Email” slideover will not do anything useful until later, but the page looks a little nicer now.
Next up, let’s display resumes on the page.
Displaying resumes
Resumes can be large pdf files, some folks really enjoy adding colorful graphics and headshots to their resume, and ideally we do not want the user to wait for the pdf to download before the show page loads.
Turbo Frames make it easy to lazy load content like this, deferring the request until the rest of the page is loaded and the frame is visible.
Let’s walk through it step by step. First, we need a controller. From your terminal:
rails g controller Resumes show
The ResumesController only has one action, show, used to display a single applicant’s resume file.
Update the routes to add a route pointing to this new controller:
resources :applicants do
  patch :change_stage, on: :member
  get :resume, action: :show, controller: 'resumes'
end
Next, update ResumesController to fill in the show action:
class ResumesController < ApplicationController
  before_action :authenticate_user!
  before_action :set_applicant, only: %i[show]

  def show
    @resume = @applicant.resume
  end

  private

  def set_applicant
    @applicant = Applicant.find(params[:applicant_id])
  end
end
We structured the routes so that /applicants/:id/resume will return a resume without expecting an id to find the resume in the database, so the action just sets the value of @resume to @applicant.resume.
Fill in the Resumes show view:
Notice here that we render the show page wrapped in a Turbo Frame. The applicant show page will have a matching, empty Turbo Frame that this view will be responsible for replacing.
We also use url_for from Rails ActiveStorage to build the src for the iframe.
Back to app/views/applicants/show.html.erb to update the page to render an empty resume Turbo Frame:
The key points are in the turbo_frame_tag. We set an src that informs the Turbo Frame to load content from the specified URL and we add the loading: lazy attribute that tells Turbo to wait until the frame is visible before loading the content.
Now when we refresh the applicant show page for an applicant with a resume, the page will initially load in with the “Loading…” placeholder content inside of the resume turbo frame. Immediately after the initial page load, a request will be sent to /applicants/:id/resume and the content of the resume frame will be replaced with the applicant’s actual resume file, embedded in a PDF viewer.
When working with eager or lazy loaded Turbo Frames, it is important to remember that additional attributes that you need to set on a Turbo Frame, like src or lazy, must be set when the frame is initially rendered. In this example, that means we need to set the src and lazy values on the version of the frame rendered by the applicant#show view. When a frame enters the DOM, Turbo sees the attributes, triggers a request to the specified src URL, and replaces the inner HTML of the Turbo Frame with the response from the server (resumes#show).
This is a small but important piece of the Turbo Frame puzzle. Turbo Frame requests only update the inner HTML of the Turbo Frame, the parent turbo-frame element is (almost) never modified after it is rendered for the first time.
Nice work so far! We now have a simple way to view an applicant’s basic information including their resume. Next, we will add the ability to send emails to applicants, which is one of the most important features of an applicant tracking system. You can’t interview someone if you can’t contact them!
Build email resource
Our email system will eventually support outbound emails to applicants, replies from those applicants, and replying to the replies in the form of email threads.
To support that, we will store all emails, inbound and outbound, in an emails table. Storing emails in a table gives us the ability to retrieve previous email conversations with an applicant, making it easier for a team of people to see an applicant's full history.
The email table will also power email replies and threading, making it less likely that users will go outside of the system to send and receive emails.
Begin by generating the Email model. From your terminal:
rails g model Email applicant:references user:references subject:text sent_at:datetime
rails db:migrate
Update the model to add a rich_text body and set up basic associations and validations.
class Email < ApplicationRecord
  has_rich_text :body

  belongs_to :applicant
  belongs_to :user

  validates_presence_of :subject
end
Add the has_many side of the association to both the User model and the Applicant model:
# This line goes in both the User model and the Applicant model
has_many :emails, dependent: :destroy
Generate the Emails controller, from your terminal:
rails g controller Emails
touch app/views/emails/_form.html.erb
Update routes.rb to define the routes we need.
resources :applicants do
  patch :change_stage, on: :member
  resources :emails, only: %i[index new create show]
  get :resume, action: :show, controller: 'resumes'
end
Like the resume#show action, emails are nested under the applicants resource.
Update the email form partial:
This form should look familiar at this point. Mrujs + CableCar handle the form submission so we add remote: true to the form element. We are also using a Trix editor to allow basic formatting of the body of the email.
Then update EmailsController to define the new and create actions, using the same CableCar structure we used for Jobs and Applicants:
class EmailsController < ApplicationController
  before_action :authenticate_user!
  before_action :set_applicant

  def new
    @email = Email.new
    html = render_to_string(partial: 'form', locals: { email: @email, applicant: @applicant })
    render operations: cable_car
      .inner_html('#slideover-content', html: html)
      .text_content('#slideover-header', text: "Email #{@applicant.name}")
  end

  def create
    @email = Email.new(email_params)

    @email.applicant = @applicant
    @email.user = current_user
    if @email.save
      html = render_to_string(partial: 'shared/flash', locals: { level: :success, content: 'Email sent!' })
      render operations: cable_car
        .inner_html('#flash-container', html: html)
        .dispatch_event(name: 'submit:success')
    else
      html = render_to_string(partial: 'form', locals: { applicant: @applicant, email: @email })
      render operations: cable_car
        .inner_html('#email-form', html: html), status: :unprocessable_entity
    end
  end

  private

  def set_applicant
    @applicant = Applicant.find(params[:applicant_id])
  end

  def email_params
    params.require(:email).permit(:subject, :body)
  end
end
This is very similar to the CableCar code we have for applicants and jobs, with one key addition. In the create action, we are rendering a flash message letting the user know that their email has been sent successfully:
html = render_to_string(
  partial: 'shared/flash',
  locals: {
    level: :success,
    content: 'Email sent!'
  }
)
render operations: cable_car
  .inner_html('#flash-container', html: html)
  .dispatch_event(name: 'submit:success')
This technique is useful when the results of a user’s actions are not immediately obvious, or when we want to be very explicit about what has occurred. We do not want the user to be confused about whether their email has been sent or not, so we proactively inform them that everything is okay.
Wire up the new email slideover by updating the Send Email link on the applicant show page:
We are not being totally honest with the user right now. The flash message says the email has been sent, but we are just storing the email in the database without sending it anywhere.
Let’s fix that next.
Send emails to applicants
Before we can send emails to applicants, we need to create a new mailer using the built in Rails generator:
rails g mailer Applicant contact
This mailer will be used to send outbound emails to applicants. The email content will be filled in from the rich_text :body field on the Email record.
Update the ApplicantMailer, found at app/mailers/applicant_mailer.rb:
class ApplicantMailer < ApplicationMailer
  def contact(email:)
    @email = email
    @applicant = @email.applicant
    @user = @email.user

    mail(
      to: @applicant.email,
      from: @user.email,
      subject: @email.subject
    )
  end
end
The contact method is what we use to generate and send the email. Notice that contact takes an email argument. In this case, @email will be an Email object retrieved from the database.
Then we use the mail method to construct an outgoing email, which we will deliver shortly. Before that, we need to fill in the HTML and text content of the contact mailer.
Fill in app/views/applicant_mailer/contact.html.erb:
And the text version in contact.text.erb:
To actually send the email from the application, add a callback to the Email model to generate and deliver an email:
after_create_commit :send_email

def send_email
  ApplicantMailer.contact(email: self).deliver_later
end
Here, the after_create_commit callback runs immediately after a new email is added to the database and the deliver_later sends the email in the background.
With these changes in place, we can head to the show page for any applicant, create a new email, and see the email persisted in the database. After the email is persisted, the contact mailer will run, and a new email will be sent. We can verify the email was sent by checking the Rails server logs and seeing the new outbound email in the logs.
If you prefer reviewing outbound emails in an easy-to-use UI, an optional Gem you can use is letter_opener_web. letter_opener_web provides a nice interface for reviewing all outbound emails your Rails app sends in development.
Users can now send outbound emails to applicants using our application, but users cannot see the emails that they have sent to an applicant or receive email replies from applicants.
We will handle receiving email replies next using Rails ActionMailbox.
Receive and process inbound email
ActionMailbox provides easy-to-work-with routing of inbound emails in your Rails app. It can handle complex routing cases, and handle any number of inbound email addresses. For our purposes, we will have a single mailbox responsible for routing inbound email replies from applicants.
To get started, install ActionMailbox using the built-in installer. From your terminal:
rails action_mailbox:install
The ActionMailbox installer does not currently automatically detect that we use uuids for primary keys. Before migrating the database, update the generated migration file to set the primary key type:
create_table :action_mailbox_inbound_emails, id: :uuid do |t|
Migrate the database and use the mailbox generator to create a new ApplicantReplies mailbox:
rails db:migrate
rails g mailbox ApplicantReplies
The installer automatically adds an ApplicationMailbox that we can use to set up routing rules for inbound emails. Update app/mailboxes/application_mailbox.rb to add a routing rule for the new ApplicantReplies mailbox:
class ApplicationMailbox < ActionMailbox::Base
  routing /reply/i => :applicant_replies
end
This rule tells ActionMailbox to route inbound emails with reply in the to address to the ApplicantReplies mailbox where they will be processed and delivered to the appropriate user.
Fill in app/mailboxes/applicant_replies_mailbox.rb:
class ApplicantRepliesMailbox < ApplicationMailbox
  ALIASED_USER = /reply-(.+)@hotwiringrails.com/i

  before_processing :set_applicant
  before_processing :set_user

  def process
    email = build_email
    email.body = mail.parts.present? ? mail.parts[0].body.decoded : mail.decoded
    email.save
  end

  private

  def build_email
    Email.new(
      user_id: @user.id,
      applicant_id: @applicant.id,
      subject: mail.subject
    )
  end

  def set_applicant
    @applicant = Applicant.find_by(email: mail.from)
  end

  def set_user
    recipient = mail.recipients.find{ |r| ALIASED_USER.match?(r) }
    @user = User.find_by(email_alias: recipient[ALIASED_USER, 1])
  end
end
There is a lot going on here. Let’s slow down and walk through what’s happening.
When an email is received with a to address that includes reply in the address, the ApplicantReplies mailbox, steps in.
The reply address will contain a randomly generated string to identify the user who should receive the reply. A complete to address might look something like “reply-davidcolby1241@hotwiredats.com”, where 129aad91 is a unique identifier for a user in the database.
This mailbox will process the email, route it to the correct user/applicant combination by extracting information from the inbound mail object, and then save a new Email record in the database.
In the code, we start by using the callbacks ActionMailbox provides (before_, around_, and after_) to make acting on inbound emails easier. In our case, we use before_processing callbacks to identify the applicant that sent the email and the user that should receive the email.
The method we use for setting the applicant, set_applicant, is a bit naive. In a commercial application, you may find that applicants reply to emails using slightly different emails than the one that they applied with (adding a + sign to their gmail address, or replying from a forwarding address are both common complications).
For our application, we will assume that applicants maintain a consistent email address to avoid the extra complexity of building unique email thread ids or other methods of tying inbound emails to the correct applicant.
A more robust solution might involve creating an email threads database table and using that email thread id as the reply to address on outbound emails. This method is more resilient to changing email addresses but adds a significant amount of complexity to the application without providing much general purpose learning value, so we will use the simpler, less resilient approach.
Finding the intended recipient of the email (set_user) requires extracting the recipients of the email. We extract the recipients using the recipients method from the built-in mail gem and then check each recipient email address against the ALIASED_USER regex.
Once a match is found, the matching email address is used to find a user in the database by their email alias. Email alias is a column we will add to the user's table shortly.
In the process method, which is called automatically when a new email is routed to a mailbox, we build a new Email record and save it in the database, using the decoded method from the mail gem to extract the body of the inbound email.
We need to add the email_alias column to the Users table in order for this routing logic to work. To do this, generate a new migration from your terminal:
rails g migration AddEmailAliasToUser email_alias:string:index
rails db:migrate
Add a callback that ensures all newly created users will have an alias set. In the User model:
after_create_commit :generate_alias

def generate_alias
  email_alias = "#{email.split('@')[0]}-#{id[0...4]}"
  update_column(:email_alias, email_alias)
end
Here we have added an after_create_commit callback that generates an email alias from the user’s email address and their id.
The method for generating the alias is not particularly important. We simply need a unique alias for each user that is not overwhelming for applicants to see when they reply to an email sent by our application. We could also add a uniqueness validation on this column but the likelihood of a non-unique value being generated is extremely low and will not occur during our learning with this application.
It is a good idea to update existing users in the database to have an alias so that you do not run into bugs while testing. From the Rails console (rails c in your terminal):
User.all.each{ |user| user.generate_alias && user.save }
When an applicant receives an email sent from our application, replies they send should be sent to an email address that matches the user's email alias so our application can properly route the inbound email. To do this, update the ApplicantMailer like this:
class ApplicantMailer < ApplicationMailer
  def contact(email:)
    @email = email
    @applicant = @email.applicant
    @user = @email.user

    mail(
      to: @applicant.email,
      from: "reply-#{@user.email_alias}@hotwiringrails.com",
      subject: @email.subject
    )
  end
end
Here, we updated the from address on outbound emails to use the user's email alias. With this change, replies to contact emails will come back to our application and be routed to the appropriate user.
With the email alias added, next let's add the ability to distinguish between inbound and outbound emails in the database using a new email_type column.
From your terminal again:
rails g migration AddEmailTypeToEmails email_type:string
rails db:migrate
Update the Email model to map out the email_type enum and update the send_email callback to only send outbound emails to the ApplicantMailer.contact method.
after_create_commit :send_email, if: :outbound?

enum email_type: {
  outbound: 'outbound',
  inbound: 'inbound'
}
Without this change, every time a new inbound reply is processed, the application will immediately send that same email back to our servers, resulting in a broken email system.
Now, update the ApplicantReplies mailbox to set the email type when inbound emails are processed:
def build_email
  Email.new(
    user_id: @user.id,
    applicant_id: @applicant.id,
    subject: mail.subject,
    email_type: 'inbound'
  )
end
Update the EmailsController to do the same thing when new outbound emails are created:
def create
  @email = Email.new(email_params)
  @email.email_type = 'outbound'
  # Snip
end
To test this new inbound email processing system out in development, restart your Rails server, and use the Rails Conductor to deliver new emails using the built-in email form. For processing to work, make sure the from address matches the email address of an applicant in the database, and ensure the to address includes an alias for a user in the database and matches the routing and regex rules we defined when we set up the mailbox.
Note: This form is currently broken on Rails 7.0.1. The linked PR should be merged before the next Rails 7 release. In the meantime, if you delete the file attachment field from the form before submitting it, the form will submit just fine.
The to address should look like this reply-david-12345@hotwiringrails.com where david-12345 corresponds to the email alias of a user in the database.
Send a couple of email replies, and then check the Emails table to see that the replies sent from the email form created records mapped to the user and applicant you expect.
Now that we can send and receive emails, we will next add the ability to view emails on the applicant show page. Sending and receiving emails is not very useful if we have to check the Rails console to see them!
Display previous emails on applicant record
Begin by editing the EmailsController to define new index and show actions:
def index
  @emails = Email.where(applicant_id: params[:applicant_id]).with_rich_text_body.order(created_at: :desc)
end

def show
  @email = Email.find(params[:id])
  html = render_to_string(partial: 'email', locals: { email: @email })
  render operations: cable_car
    .inner_html('#slideover-content', html: html)
    .text_content('#slideover-header', text: @email.subject)
end
Nothing fancy here. The index action includes with_rich_text_body in the query to avoid N+1 queries caused by retrieving the body from the ActionTextRichTexts table for each email individually.
Users will view emails in a slideover drawer, so the show action follows the same pattern we use in the new action for emails, jobs, and applicants.
With the controller actions defined, next create the views we need to display emails in the UI. From your terminal:
touch app/views/emails/index.html.erb
touch app/views/emails/_email.html.erb
touch app/views/emails/_list_item.html.erb
And then fill in those views starting with the index:
We will display emails in a Turbo Frame following the same pattern we used to display resumes earlier in this chapter. The emails#index action renders all of the emails wrapped in an emails Turbo Frame.
Fill in the list_item partial:
Be sure to note the show link relies on the slideover functionality. These items are rendered in the index view and link to the show action for each email. We are using a helper method, email_type_icon to render an svg icon for each email, depending on the email's type. Add that helper in app/helpers/emails_helper.rb:
module EmailsHelper
  def email_type_icon(email_type)
    email_type == 'inbound' ? 'arrow-circle-right' : 'arrow-circle-left'
  end
end
Create those icons, from your terminal:
touch app/assets/images/arrow-circle-left.svg
touch app/assets/images/arrow-circle-right.svg
Fill in both svg files with the icon content. First the left arrow:
And then arrow-circle-right.svg:
Fill in the email partial at app/views/emails/_email.html.erb:
The email partial is rendered in the slideover drawer by the show action. Simple Ruby and HTML here with a placeholder link for replying to inbound emails. We will wire that link up later in this chapter.
To display the list of emails on the applicant show page, update the applicant show view to wrap the email list in a div with the resume viewer, like this:
Here, we added the emails turbo frame, again with an src value. Note that this time we are eager loading the content of the Turbo Frame instead of lazy loading the content.
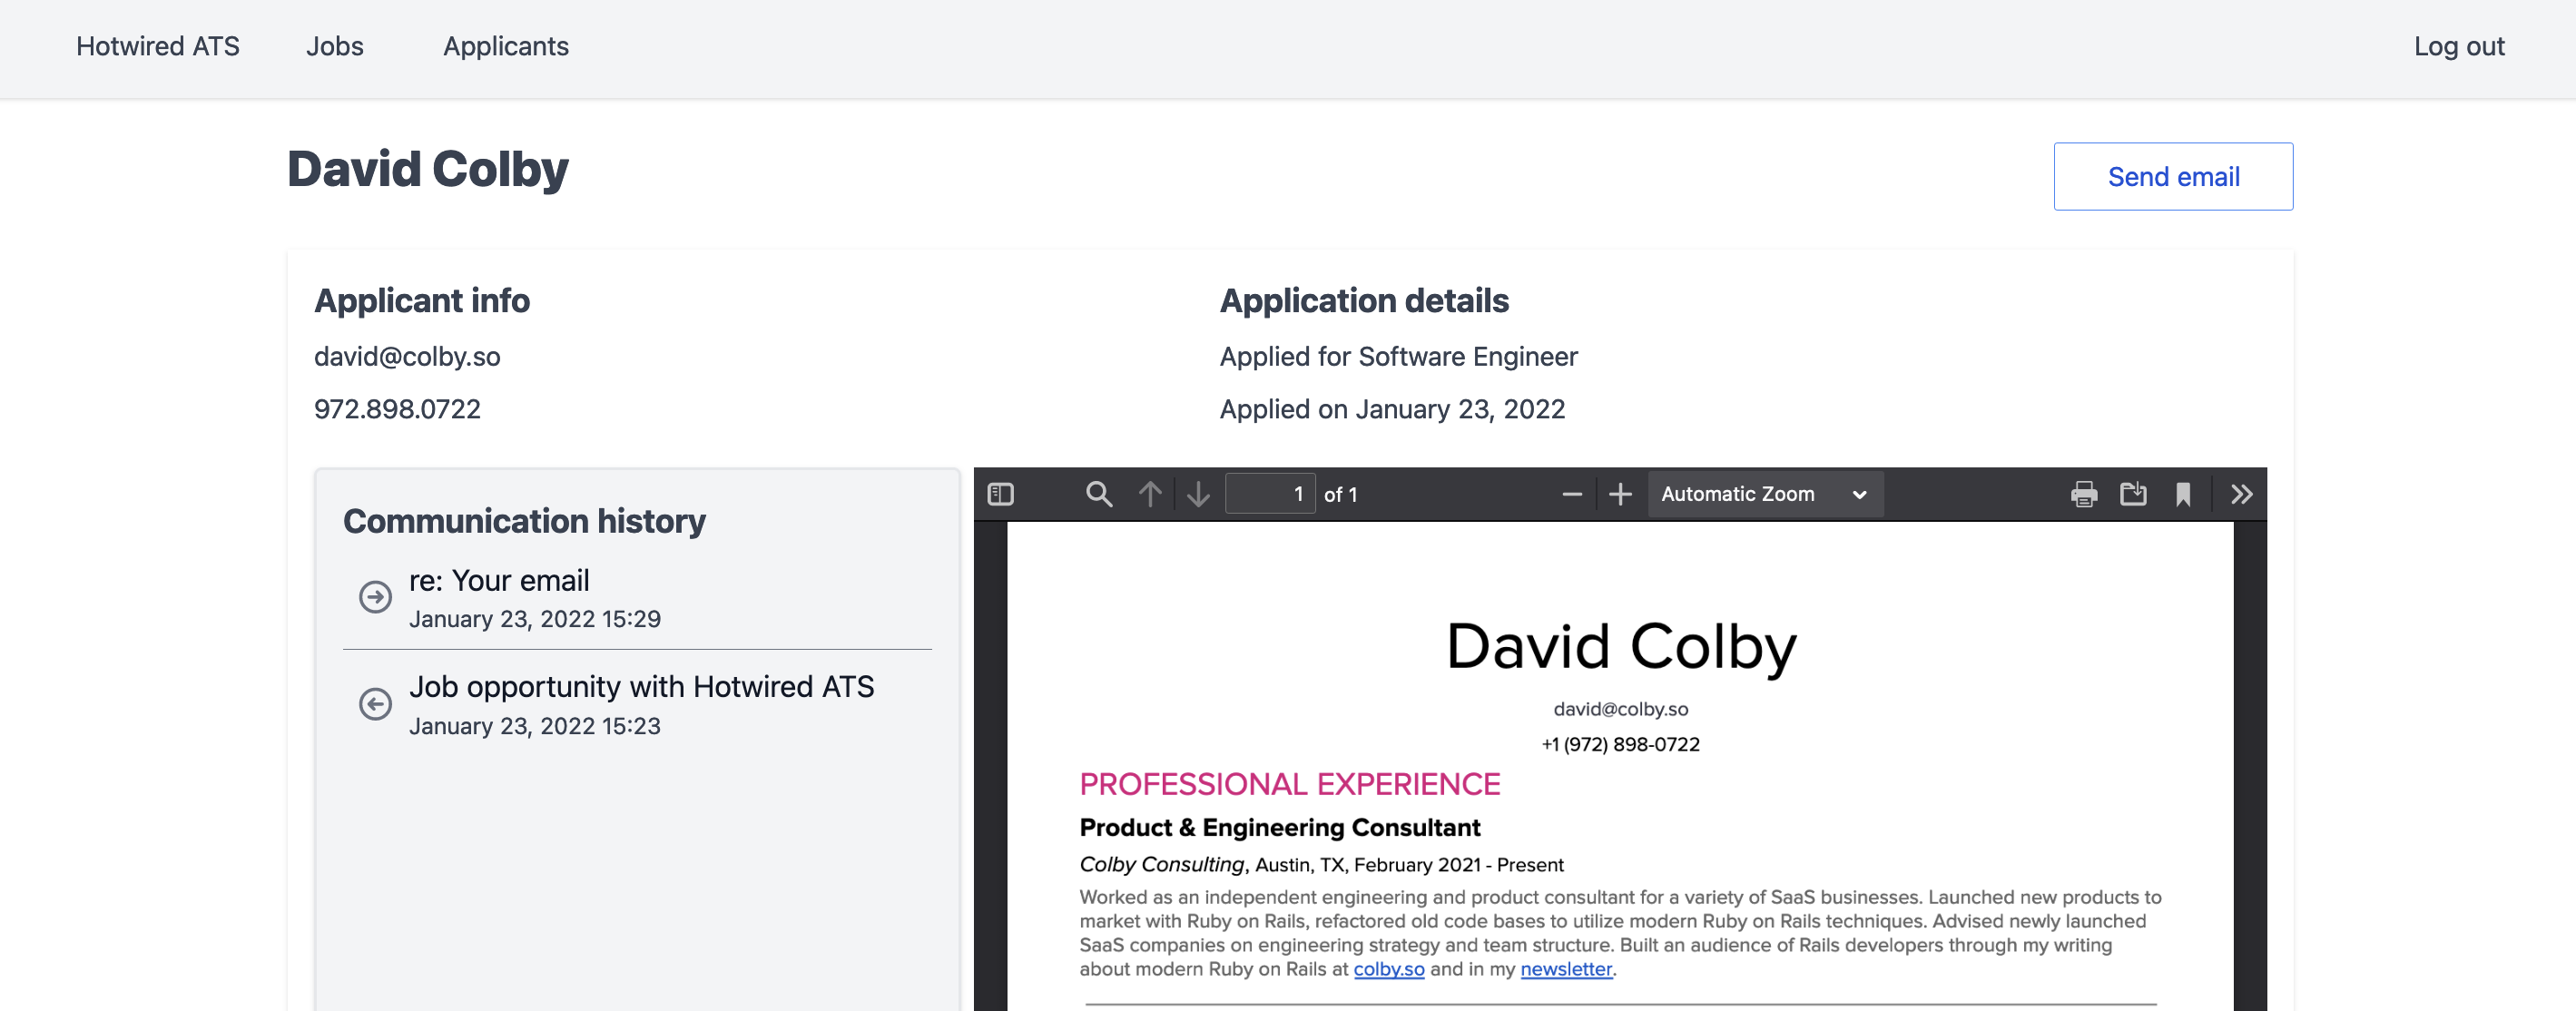
With these changes in place, you can now see all emails sent to and received from an applicant on the applicant show page. Send a few emails to an applicant and use the inbound email form to send a reply back. If all has gone well, your applicant show page should look like this:
Reply to inbound emails
In this section, we will add the ability for users to reply to inbound emails sent to them by applicants. To do this, we will create a new EmailReplies controller that is responsible for opening the reply form.
Although a Reply is ultimately just another Email in the database, what we display to the user is different so creating a new controller for the job is a reasonable approach.
Generate the controller from your terminal:
rails g controller EmailReplies
Update the routes to enable a new action for the EmailReplies controller:
resources :applicants do
  # snip
  resources :email_replies, only: %i[new]
end
Update the EmailReplies controller like this:
class EmailRepliesController < ApplicationController
  before_action :authenticate_user!
  before_action :set_applicant

  def new
    @email = Email.new.build_reply(params[:email_id])
    @applicant = @email.applicant
    html = render_to_string(partial: 'emails/form', locals: { email: @email, applicant: @applicant })
    render operations: cable_car
      .inner_html('#slideover-content', html: html)
      .text_content('#slideover-header', text: "Email #{@applicant.name}")
  end

  private

  def set_applicant
    @applicant = Applicant.find(params[:applicant_id])
  end
end
This controller only has a new action. The new action is similar to the new action in the EmailsController. The difference is these lines:
@email = Email.new.build_reply(params[:id])
@applicant = @email.applicant
Instead of starting with an empty Email object, in this action we use the email the user is replying to build the email's subject and body using the build_email method. We will define that method next in the Email model:
def build_reply(email_id)
  replying_to = Email.find(email_id)
  original_body = replying_to.body.body.to_html

  email = Email.new(applicant_id: replying_to.applicant_id)
  email.subject = "re: #{replying_to.subject}"
  reply_intro = <<-HTML


    On #{replying_to.created_at.to_date} #{email.applicant.name} wrote:


  HTML
  email.body = original_body.prepend(reply_intro)
  email
end
This method finds the original email and uses that email to populate the new email’s body, with the original content appended to the bottom of the email.
The idea here is to make it easier for users to send useful replies to emails. Without this method, users would need to keep the original email open to see the message they were replying to.
Update the email partial to add a real URL to the Reply button we added earlier:
With the link updated, open any inbound email, click the reply button, and see that you can send a reply to the email with the body of the email automatically set to include the original email’s body.
Great work in this chapter so far! We have built some complex features and made our applicant tracking system much more useful. Let’s finish up this chapter by keeping the email list up to date as new emails are received.
Broadcast new emails with Turbo Streams
Turbo Stream model broadcasts will be used to keep the list of emails up to date for each applicant. Each time a new email is added to the database, the application will send a broadcast out via ActionCable to prepend the new email to the related applicant's email list.
Broadcasting these changes from the model ensures that emails sent by the user and email replies from applicants update the DOM when they are created.
To start, we need to create a Turbo Stream connection on the applicant show page. To do this, update the applicant show view like this:
The turbo_stream_from method, provided by turbo-rails, creates an ActionCable subscription to the specified channel. When we want to use Turbo Streams to broadcast updates from a model to the DOM, we need to create a Turbo Stream connection using this helper.
When a user is on an applicant's show page, the user will automatically be subscribed to the applicant's email channel. This allows the user to receive updates when a new email is created related to that applicant. When they leave the page, the subscription is terminated.
Now update the Email model to broadcast updates:
after_create_commit :broadcast_to_applicant

def broadcast_to_applicant
  broadcast_prepend_later_to(
    applicant,
    :emails,
    target: 'emails-list',
    partial: 'emails/list_item',
    locals: {
      email: self,
      applicant: applicant
    }
  )
end
Here we added an after_create_commit callback that prepends each new email for an applicant to the applicant’s email list, ensuring the channel we broadcast on matches the channel we subscribed to in turbo_stream_from on the front end.
Importantly, this change means that every time a new email is added to the database, a Turbo Stream broadcast will be sent with the details of the new email, even if there are no active subscribers to receive the broadcast on the front end. Model broadcasts do not know if there are subscribers ready to see the information. Any broadcasts sent without any subscribers to receive the broadcast harmlessly disappear.
To make this work we need to update the email list_item partial to use a local reference to the applicant record instead of relying on an instance variable.
And then update the emails index view to pass in the @applicant instance variable to the list_item partial:
Recall that model broadcasts cannot access the session. This requires all partials you render with Turbo Stream broadcasts to use only local variables that can be passed in at render time.
With the partial updated, test this new broadcast out by refreshing an applicant show page and then sending that applicant an email. After the email is saved, the list of emails will update automatically to include the newly created email.
Now that the model broadcast works, let's pause to think about how this method of using Turbo Streams differs from the method we saw in chapter three.
In chapter three, the Turbo Stream code that powered the slideover was generated in a normal Rails controller and sent back to the browser as a snippet of HTML. Using a Turbo Stream from a controller, as we did in chapter three, keeps the update within the standard request/response cycle. The user that initiated the request receives the response in their browser, it gets processed and they see the result in that browser window. No other user in the application has any knowledge of the content rendered by that Turbo Stream.
Broadcasting a Turbo Stream from a model, as we did in this chapter, sends updates to all subscribed users at once using WebSockets. These updates are sent completely outside of the normal request/response cycle.
When a new email is saved in the database and a Turbo Stream broadcast is sent, every user on the show page for the related applicant receives the update automatically, without taking any action. Users that are not on that applicant's show page do not receive the broadcast and have no knowledge of the change.
This distinction is important to understand, and is worth spending time thinking about. To reiterate, Turbo Stream rendering in a controller stays in the normal request/response cycle and sends updates to one single user without relying on WebSockets. Turbo Stream broadcasting from a model is entirely outside of the usual request/response cycle and can send updates to hundreds of users at once using ActionCable and WebSockets.
Great work in this chapter! The application is starting to grow and we are adding interesting and complex features. I hope the wheels are starting to turn for you as you think about how you can improve the application and add even more functionality.
In the next chapter, we will build a notification system inspired by the wonderful Noticed gem. We will use the notification system, along with StimulusReflex and Turbo, to notify users in real time when an applicant sends them an email.
To see the full set of changes in this chapter, review this pull request on Github.